|
Three Bright Christmas Cards With a Variation On Traditional ColoursMy Christmas In July Stamp Camp has just finished and 3 of the 10 projects were bright cards that would be suitable for all ages. I took a look at traditional colours - Red, Green and White and decided to modify them slightly by using a couple of the fabulous 2009 In Colours from Stampin Up. Riding Hood Red and Kiwi Kiss combine beautifully with white - add a touch of gold here and there, and maybe a black highlight and voila! The first card is made with the very cute "A Holly, Jolly Christmas" by Stampin Up.
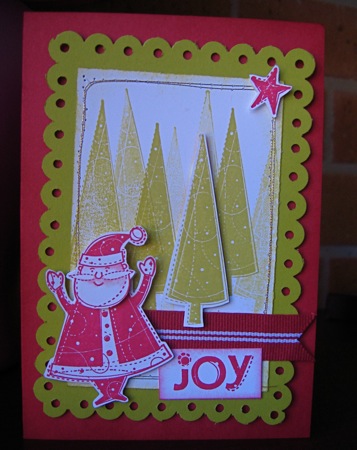
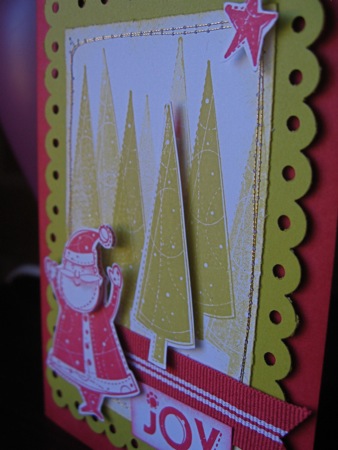
Simple stamping techniques. Simple layout. A bit of added dimension. Punched and scalloped edges to the "frame". A touch of co-ordinating ribbon. All these elements help create a light, bright Christmas card, but most of all the play of one complimentary colour against another is what makes the design really stand out. Red and Green are compliments of each other - they are found on opposite sides of the colour wheel and you'll always get a vibrant solution to your cards when you use complimentary colours Use your sewing machine threaded with metallic gold to stitch the white to the kiwi card background. You don't even have to sew straight! It all adds to the naive look.
Scallop the edges with the Scallop Edge Punch from SU and get all your holes the same depth by using the cropodile. Add interest to the card by raising up some images. Stampin Up dimensionals are a great height for this, and because they are hexagonal in shape you don't get unsightly edges showing through. I've raised Santa - his head is raised a second time (and I can just imagine it on a spring, bobbing from side to side), one tree and the star in the top right hand corner. The Christmas tree image has been "stamped off". Finish the card with some ribbon detail - Riding Hood Red Striped Grosgrain used here.
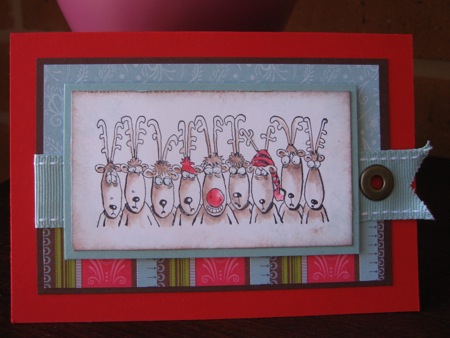
How cute are these guys? I just adore these images and could not let the opportunity pass where I could showcase them to a number of card making friends. Such a simple card to make - basic layout - a small amount of colouring with inks and a blender pen, and then dressing up the card with papers from the fabulous new Ski Slope Designer Series Paper from the new Spring Mini catalogue (due out August 1st, 2009) All mounted on Chocolate chip card, tied together with Baja Breeze Double Stitched Ribbon and highlighted with a Riding Hood Red card base.
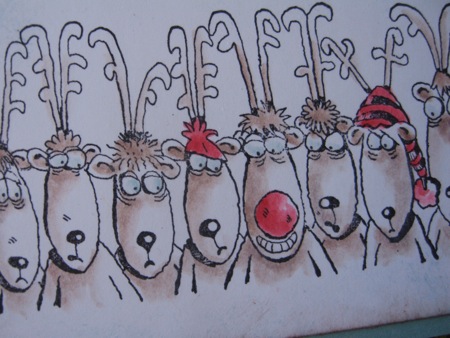
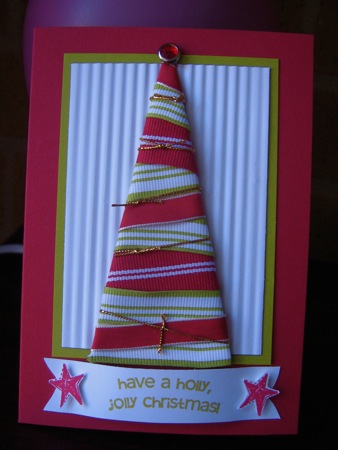
The detail shot shows the minimal amount of colouring needed. I highlighted the eyes with Baja Breeze, the noses with Riding Hood Red and the Reindeers with Close To Cocoa. I added a little more red on some hats to spread the balance of colour. The next card only uses stamped images for the greeting and star embellishments. I cut out some tree shapes from the backing sheet that comes with the Designer Series papers. This sheet is a little thicker than card stock and creates a light but usable template.
This card relies on texture and colour to create it's impact, and again I've chosen Riding Hood Red, Kiwi Kiss and Whisper White as the main colours. A touch of gold thread and a beautiful large Rhinestone Brad at the top of the tree complete the picture. HINT: Gently drag the strip of paper with the greeting on it, across the edge of the table. This will soften the edges and create a nice curve for you "banner". HINT:Use sticky strip at the back of the tree template and apply each piece of ribbon individually. This not only saves ribbon - it gives you the opportunity to create different angles when placing the ribbon. If you'd like to order any of the products used in these cards, or you'd like further information about the techniques used you can See lots of other Christmas projects here
|


