|
Party Bags - Easy to Make and Fun to Receive.
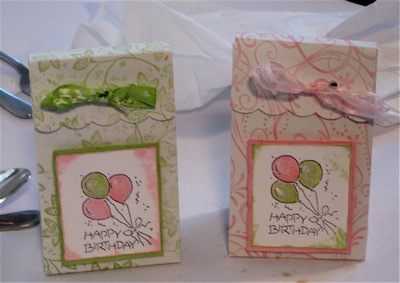
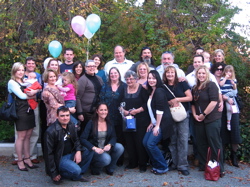
My eldest daughter Lee, and I made 35 of these lovely Party Bags for Mum's 80th birthday party. Our family has just completed a week of celebrations for this momentous occasion, with children and grandchildren coming from as far north as Townsville and Mount Isa, and south from Melbourne. About 30 of the immediate family gathered in Canberra, including Mum and her sister Judy who both travelled from the Gold Coast, for a week of festivities. So much food, so much reminiscing and lots of laughter make one realize just how important family is.
I used the basic 2,5,7,10 pattern for the party bags, and Lee and I made them in a few hours. You can find the instructions for these really useful little bags or boxes on Split Coast Stampers website under the Resources heading. I used the beautiful "So Swirly" wheel from Stampin' Up! on the girls pink bags, and the "Leaves a la Carte" on the boys green bags. We pr-escored all the A4 card and then rolled the wheel diagonally across the card before cutting out the extra bits. I stamped the balloons from Stampin Up's "Nice 'n' Easy Notes" (retired), onto Whisper White card stock, hand coloured them with the Pretty in Pink and Certainly Celery Stampin' Write markers, then added a touch of glitter to each with the 2-way Glue Pen and Dazzling Diamonds. Finally I used the Direct to Paper Technique, and swiped the ink pad around the edge of each little motif. Everyone loved them, and I might just get a couple of projects for some future family weddings!
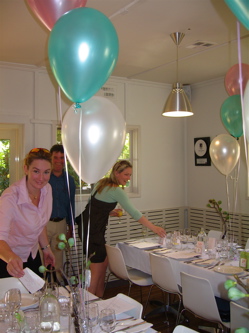
Lee organized some helium balloons to match the pink and green theme that we had chosen and used on the Party Bags as the event was held at Pod in Piallago. For those of you unfamiliar with Canberra - Piallago is a beautiful area consisting of many garden centres, many of which now have restaurants and coffee shops.
We can highly recommend Pod as a fantastic place to go. They could not have been more helpful, the staff were fantastic - very attentive but not intrusive, and the food was sooooooooooo good. We had a 3 course grazing menu with 3 exquisite dishes for each course.
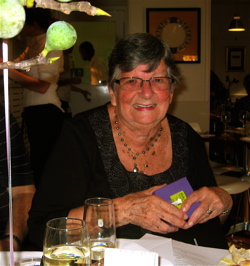
Canberra turned on one of its most brilliant Autumn days - so warm and sunny that even the Queenslanders felt "right at home". The best thing is Mum loved every minute of it- enjoying time with her 5 children and their families. We had the 4 great grand children in the family partying too, although my grandson Tyler is only 10 weeks old, so he slept most of the time. 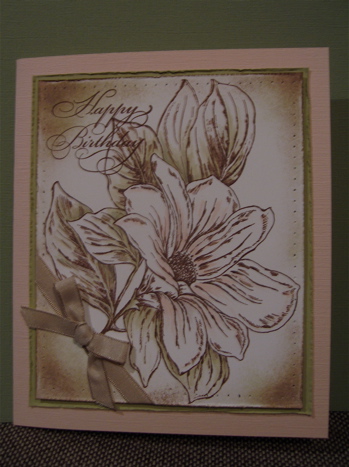
Being a Stampin' Up! tragic - I could not let the occasion pass without making a birthday card. Here it is. I used the Hostess only set "From The Garden". Mum loves flowers but it was also appropriate because of the venue of the party. I chose some of the Stampin Up soft colours - Mellow Moss and Blush Blossom, with just a touch of Pretty in Pink. I applied them to the image with our wonderful Blender Pens, then sponged the edges with Close to Cocoa and Mellow Moss. I used the Crafters Tool Kit to put holes around the edges and tied some of the gorgeous new Kraft Taffeta Ribbon across the bottom corner. I printed the outline in Basic Brown, and matted the image with Mellow Moss before placing it all on a Blush Blossom Card. If you would like to earn this Hostess Free set, I would love to do a workshop for you and your friends. Just contact me with your details and we can have fun learning some new techniques. If you would like to try this project, but do not have a party coming up, you can see other examples of these cute and versatile Party Bags, here. They can be used for all sorts of reasons, and are really nice for filling with chocolates or sweets, a small gift, jewellery etc. Those of you who make items for school stalls would enjoy this project too. You may have noticed that I added handles to some of the Birthday Boxes to make them into Party Bags. I thought the little children would enjoy and find it easier to hold on to the boxes this way. I think I will try to alter the pattern to make slightly smaller bags next time, so keep your eyes on the website for updates.
|